
But, hey, it’s all perspective, man.¯\_ ( ̄ー ̄)_/¯
Images, whether it be a photo, drawing, design element or frame of video in an infinite array of formats(codecs, color maps, sizes, compressions, etc.), well, up to the bounds of technology, of course, but the potential is there. Frequently, alterations or manipulations are used to change the visual perception of the image. Adobe has made a name for themselves by focusing on just that in their Creative Suite apps. OpenCV enables users to overcome limitations that can hinder image processing apps by directly manipulating the image data.
Computers see images as numeric arrays with the information for each pixel contained within, then it translates this information into a visual image for human viewing. Often when processing images, assisting the computer in telling it how to see something can often be the preprocessing step that makes or breaks a model.
Previously, I discussed images, understanding the data that IS an image, and reading images in OpenCV. I also went through some basic image manipulation using Numpy array slicing and OpenCV pixel control, if you need a quick refresher, check out the blog on OpenCV & Understanding Image Data.
After importing necessary packages as such:

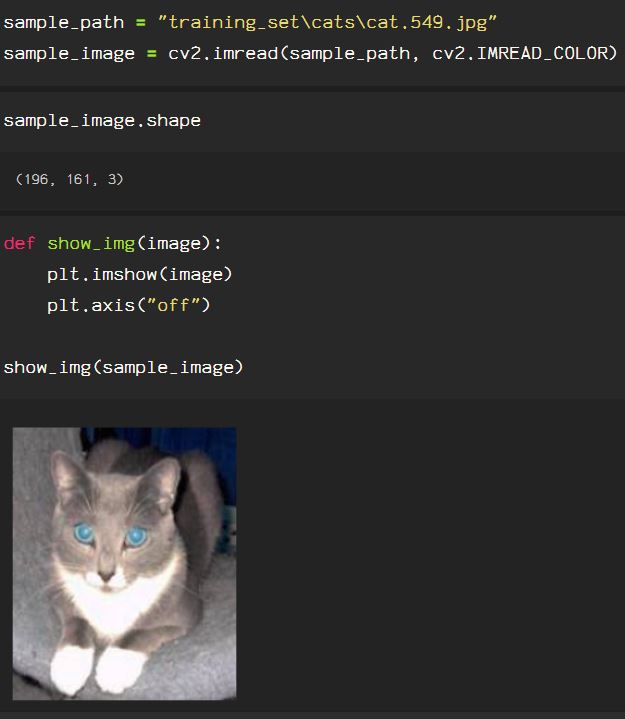
Importing the image , and checking it’s shape, using .shape, and showing the image. Note that the flag to import the image in color automatically converts an RGB image to the OpenCV’s native BGR color format.
OpenCV makes resizing images simple, simply using cv2.resize(), however, notice that the aspect ratio of the image is not preserved and the image appears stretched or warped.

An important thing to know regarding image processing is that the axis of the image is not entirely like a typical coordinate plane. Rather, the (0,0) point of the image is the top left corner, as though it only lays in the fourth quadrant of a plane, represented with only positive floats or integers, as seen below.

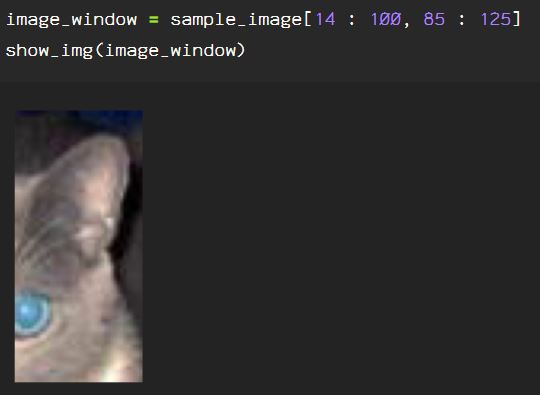
Due to this attribute, a window or portion of the image can be selected, by trimming, done by slicing the array that is the image data by height and width.
Another option using cv2.resize() is to apply a f(x) or function of x, and f(y) or function of y, which correlates to the width and height, respectively, of the image. Here, the image size is reduced to half of it’s original size, note the fx and fy parameters are the same, preserving the aspect ratio of the input image.

Here, you can see that f(x) represents the width of the image, and f(y) represents the height, as I increase the height by 50%, and the width is reduced to 70% of the original width.

OpenCV’s function cv2.getRotationMatrix2D() combined with cv2.warpAffine() enables the user to rotate the image on an axis. Taking the parameters for each axis, in the following code block, I found the center axes using the .shape information, however, the axis is determined by the user input, and can be adjusted depending on the task.

Upon first glance, this looks wrong, however, image shapes are formatted as height*width*channel, where the height, or top to bottom is on the y-axis, and width, or right to left is the x-axis, exactly like a coordinate plane (see fourth image in current blog post). The cv2.getRotationMatrix2D() function requires the axis input in point format, followed by the angle of rotation, which is 45 degrees in the example below. Following the rotation angle, is the scaling parameter for the image, which is 1.0 below, to keep the scale as is. The cv2.warpAffine() function requires input parameters referencing the source, the matrix and the width and height, in (x,y) format, which is opposite of the shape information mentioned before, which is (y,x) format.

Rather than a separate line of code for the height and width parameters, sample_image.shape[1] refers to the second item returned when .shape is called, and sample_image.shape[0] refers to the first item, which is height. The image rotation can be positive or negative, and the image rotates on the axis determined from the cv2.getRotationMatrix2D() input in (x,y) format. Here, I reduced the scaling of the original image by half, using 0.5 as the scale parameter input.

Additional rotation options without the ability for fine tuning the result are available using cv2.ROTATE_90_CLOCKWISE, cv2.ROTATE_90_COUNTERCLOCKWISE, or cv2.ROTATE_180, using the cv2.rotate() function

To reverse or flip the image, manipulate the array directly with Numpy, using flip(), more information regarding the flip() function can be found in the Numpy documentation. The image can be flipped horizontally using np.fliplr() or vertically using np.flipud().

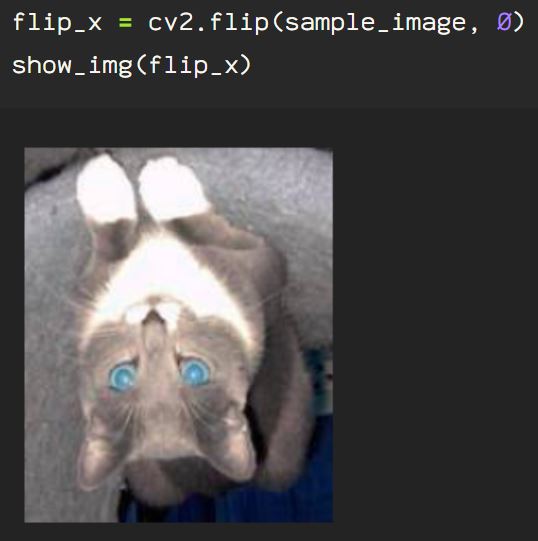
OpenCV has it’s own image flip function as well. By calling cv2.flip() on our image, then assign the appropriate integer for the axis parameter, we can flip on the x-axis using 0:
The y-axis using the integer 1:

And even on both axes with -1:

There are additional methods used to resize or manipulate images by perspective as well as interpolation options that allow the user to work with the image, additional information is available in the OpenCV documentation regarding geometric transformations which can be found here. OpenCV also allows the direct manipulation of the image array, and the documentation for this can be found here. The possibilities are endless with OpenCV, and this is just the beginning. Once the image perspective has been applied, the pixel processing begins, which I will dive into next time.
