Continuing the long road that is scraping LinkedIn profiles with Selenium

LinkedIn contains a wealth of information for a large community of working (or looking for work) professionals. Up until this point, I have gone through the process of automating the sign in process, scraping search results, and the basic process that starts off the profile scraping task, getting the name of the person who’s profile is being scraped. Now, I will go in depth, scraping contact information, job experience, as well as education experience. This are all details that could prove useful when one wants to connect with individuals from a specific company, in a specific role, or with fellow alumni.
Since the log in process is automated, I am simply going to use that to sign in, which I went through in the first blog of this series, but here is a visual recap, in which the WebDriver instance is created as ‘driver’, the log in process is defined as ‘sign_in’, requiring email and password inputs as strings.

This walk through is going to be on an individual URL(provided as a string), but this can be used to loop through multiple URLs to scrape multiple profiles.

LinkedIn, as well as a plethora of other websites utilize AJAX programming, also known as “Asynchronous JavaScript and XML. This is a method of dynamic programming that creates a smooth user experience for the normal user, but proves to be a huge pain for web scraping. The elements load dynamically as the user manually scrolls the elements into view. So, if the information is in the middle of the page, there may be errors preventing the ability of Selenium to extract the data. For example, when directing the WebDriver instance to the experience section of the profile, because I simply loaded the profile, which only shows the top of the page, before scrolling down, only that CSS information is available to my driver.

Theoretically, this should work, however, I get the following error.

Fret not! There is a solution to this problem. First, I am going to locate an element located higher up the tree. I am selecting the following element, labeled ‘background’, as it is a larger component, that encompasses the elements that I wish to obtain. Then, I scroll this into view using a JavaScript command.

Now, I am able to get my ‘experience’ section. I will later be able to use the ‘background’ element to find the ‘education’ section, so it’s a two birds, one stone situation.

Moving onto job history, which I obtain by finding the elements, note the plurality, that are under the a-tag shown in the coding block below. Next, I define ‘details’ as the first element in the list of elements, which is each job block under the ‘Experience’ section on the profile.

If I want to get the information for the second job, I would simply alter details=history[0] to details=history[1], but I am just using the first job for this example.

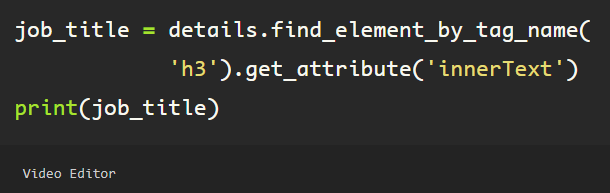
Now that the first element in the list has been assigned to the variable ‘details’, I can get the job title, company name, and any information that exists within this job block. Using the ‘get_attribute’ method, I am simply grabbing the ‘innerText’ to get the user’s job title.
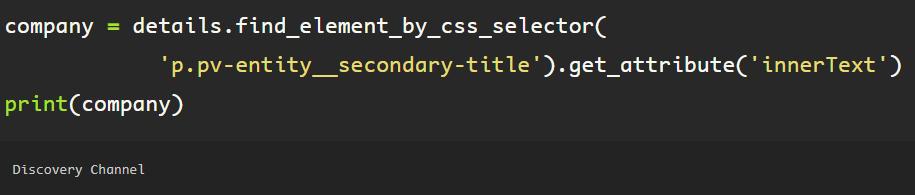
A similar format is used to obtain the company name for this job.
Then, to get the dates, again, finding the correlating attribute to the css selector referenced, which provides extraneous text that I do not need.

This is something that Python allows me to remedy easily, by splitting the list on the second white-space separator, which occurs after ‘Dates Employed’. Then I specify that I only wish to use the string in the last position of the list, of which there are two elements. Now, I am able to get the date range for this job.

A similar format is used to get the education information from a profile. Using the ‘background’ object defined earlier, simply locate the education section, using the WebDriver, pointing it to the element on the page.

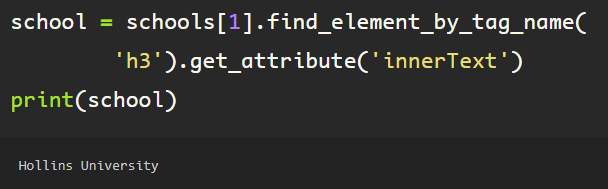
The ‘schools’ object is a list which is iterable, just as the job ‘history’ object from the experience section earlier. Following a similar flow, simply extract the ‘innerText’ attribute from the ‘h3’ tag, which provides the text from the first h3 tag, from the first element in the list (schools[0]), note the singularity the ‘find_element_by_tag_name’, otherwise, if element is plural (elements), a list would be returned, if there are multiple ‘h3’ tags inside of the first school object, which I do not want in this case. You can see here, the output is a string, and the name of the first college in the education section.

If I wanted to get the second college from the schools object, I’d just change up the number representing the element in the list ‘schools’.
In addition to getting the experience and education for a person, I’d like to obtain the email from the contact info section on the profile. Since this is located in the header just under the photo, first I need to scroll to the top, because, remember, LinkedIn uses AJAX.

Now, from the top of the page, under the profile photo and header info, there is a blue hyperlink that says ‘Contact info’. Pointing the driver toward the a-tag element using the ‘data-control-name’ attribute contained inside the tag, Selenium makes it easy to just click this, which prompts a pop up window with the person’s contact info, including the profile which I am looking at as well as the email for the person, should it be provided.

Using the WebDriver, I find the element holding the email, extracting the ‘innerText’ attribute’s information, I am able to get the email in string format.

Now, I can put each into a function of their own, using the try/except blocks that make Python so brilliant in cases like this, because not all people include all of the information in their profile, which would cause an error, halting my code. In my ‘except’ clause, if the element is not found, rather than an error, now, it simply returns ‘nan’, so when I run the code on multiple profiles at once, without getting hung up on an error.


